
Chromebooks are great and powerful mobile devices. By default they run the Linux-based ChromeOS as its operating system. They are quite widespread in education because of their competitive pricing. Wouldn’t they also make a great mobile thin client, running on IGEL OS? Absolutely! I did some tinkering and was able to boot a Chromebook from a IGEL UD Pocket as well as convert it permanently by putting IGEL OS on the internal storage.
Disclaimer: Opening a Chromebook, altering the default firmware and running an alternative operating system might break your device, leave it in an unusable (bricked) state and will probably break the warranty – you’re doing this at your own risk!
By default Chromebooks run their operating system (ChromeOS) in a protected mode, which is preventing alterations of their firmware, booting from external media and the execution of a lot of Linux commands in a terminal session. So the first step is to put the device in the so called Developer Mode. In this mode you will get full root access, including the ability to modify your Chromebook’s system files.
Please be aware:
- Enabling (and disabling) Developer Mode will wipe your Chromebook
- Google doesn’t offer support for Developer Mode
To enable this Developer Mode you need to boot your Chromebook into Recovery Mode.
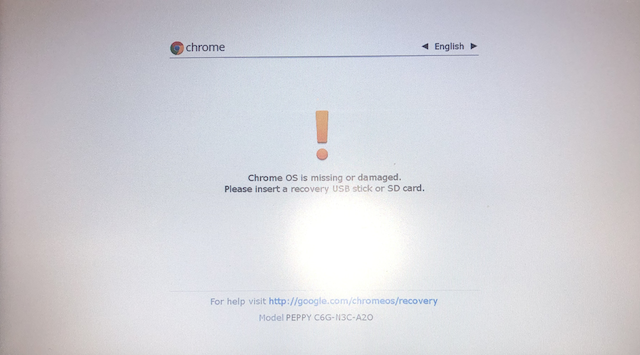
This can be done by pressing and holding Esc + Refresh, then pressing the Power button. Let go of the Power button and the device will boot into the Recovery Mode.

Once your device shows the recovery screen you have to press Ctrl-D and press Enter to switch it to Developer Mode. Your system will reboot and local data will be cleared! This transition might take a couple of minutes. After the reboot you have to go through the first launch configuration, set up a WiFi connection and log in with a Google Account.
If your device is enrolled in the Google Chrome Enterprise or Google Chrome Education management, your administrator might have disabled the possibility to enable the Developer Mode. In this case you first have to remove your device from the Google management.
In the next step we will flash the firmware with alternate code to enable booting the device from an external USB device. There are a couple of websites out there providing custom firmwares. We will use the firmware from https://mrchromebox.tech. It provides a ChromeOS Firmware Utility Script which can be launched directly from a terminal session on the Chromebook you want to alter the firmware.
Open a terminal session by pressing Ctrl-Alt-T and enter the following commands:
shell
cd; curl -LO https://mrchromebox.tech/firmware-util.sh && sudo bash firmware-util.sh

The ChromeOS Firmware Utility Script gives you different options to alter and flash the firmware.

If you only want to boot the device from an external USB drive, option 1 “Install/Update RW_LEGACY Firmware” is sufficient. This option allows you to boot IGEL OS from an IGEL UD Pocket. The default boot order is to always boot from internal storage, unless selected from boot menu. With this configuration, your Chromebook still boots ChromeOS from the internal storage by default, unless you explicitly choose to boot from the IGEL UD Pocket.

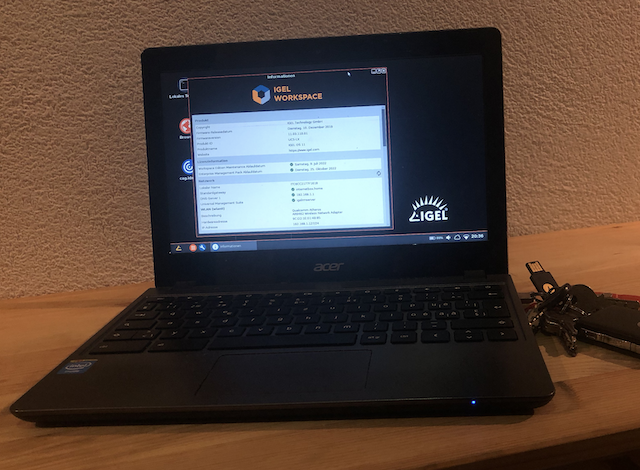
Now press P to power off your device. Insert the IGEL UD Pocket in any USB port of your device and power it on the again. When you see the warning about OS Verification is turned off, just press Ctrl-L to boot into SeaBIOS, press ESC for the boot menu and select to boot the device from the IGEL UD Pocket.


While running IGEL OS on a Chromebook, booting from an IGEL UD Pocket, is cool already, it would be even cooler to have no security warnings and not to have to fumble with boot menu and external USB boot media, right?
Well this is possible too, but needs some additional work to be done. In part two I will show you how to install IGEL OS on the internal storage of a Chromebook and convert the device into a true mobile IGEL OS thin client. Stay tuned!

I am looking forward to reading Part II.
LikeLike
Part II: https://dreadysblog.com/2020/04/14/running-igel-os-on-chromebooks-converting-the-device-with-igel-os-creator-and-booting-from-internal-storage-part-ii/
LikeLike